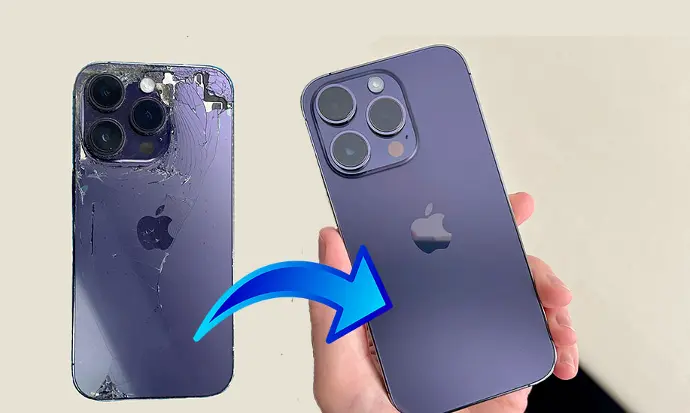
By adding glass back to its transmission lineup, Apple has really enhanced its device with a luxurious and elegant look. But as good as the glass back cover is, it has one problem: it shatters instantly when dropped. Drops can cause cracks or even break completely. Many users want to know how to repair the back glass of an Apple iPhone. Here’s everything you need to know to fix the hard back glass on your Apple iPhone.
Why is it so difficult to replace the back window?
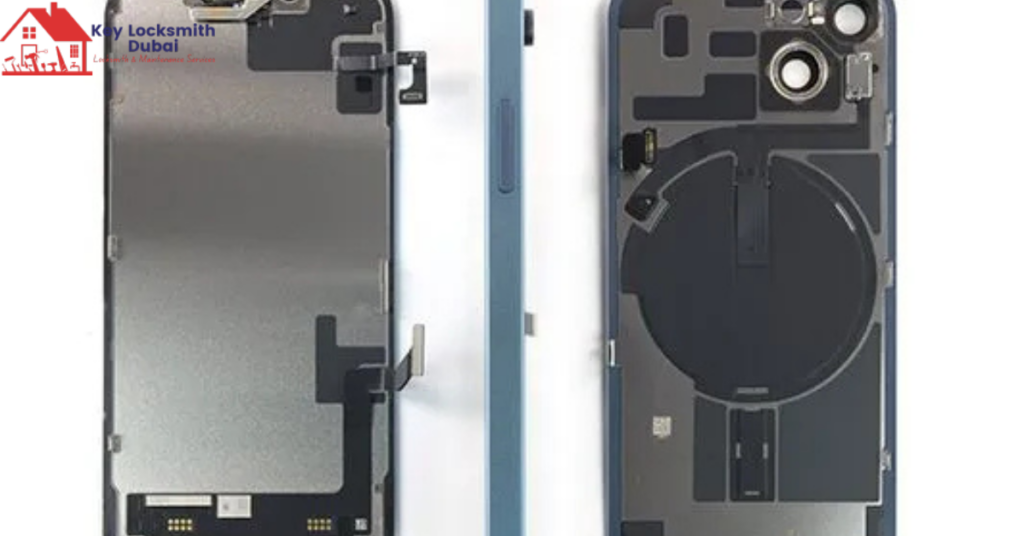
Replacing the back glass of an iPhone is not as easy as it seems, as the old types of back glass were the ones that were removed from the pocket, but today’s digital phones have their parts tightly sealed, to improve water resistance. Make them thin; attach the back glass to the frame using a strong adhesive, provide removal tools and demonstrate the skills required for such a process.
Of course, some newer models, like the iPhone 12 and later, feature a wireless charging coil under the back glass, which adds another complication to the whole process, another reason being that without the proper training and tools, repairs can require more expensive repairs. Working around these components.
Repair Options for Damage to the Back Glass
When it comes to repairing the back glass of your iPhone, you can find a number of ways to do it:
1. Apple Support:
Official repairs from Apple come at a steep price. This is the best route to take if your phone is still under warranty or you have AppleCare+. This option will significantly reduce the cost of repairing accidental damage, even to the back glass. But if you are not covered, you could end up paying for a new phone again.
2. Third-party repair shops:
This service is usually offered by local repair shops to replace the back glass at a lower price than Apple. Make sure to choose a reputable shop and experienced technicians as there may be improper sealing or internal damage.
3. DIY repair kits:
For those who are tech-savvy, DIY repair kits are readily available online. The kit includes all the tools, replacement glass, and adhesives. However, do this repair at your own risk as you will not have experience handling sensitive electronic devices.
Do it yourself:
Pros and cons:
For a do-it-yourself repair, consider the pros and cons when preparing:
• Cost savings:
Home repair kits are much cheaper than professional repairs.
• Learning experience:
For those who like to tinker, this can be a truly rewarding challenge.
The disadvantages are:
Risk of further damage:
Improper handling can damage internal components like the wireless charging coil or camera module.
• Special tools required:
These requirements include a heat gun, laser device, or precision screwdriver to safely remove the adhesive.
• Make-up time:
This is not a quick fix that you can expect to spend a few hours on.
Rear glass replacement steps:
If you decide to take the DIY approach, here is an overview of what you will need to do:
1. Gather tools and supplies:
You will need a heat gun or laser removal tool, suction cups, adhesive remover, precision screwdriver, and replacement glass.
2. Turn off your device:
Rule number one:
Safety Turn off your iPhone to avoid electrical damage during the repair.
3. Heat the rear window
Use a heat gun to soften the glue, but be careful not to overheat it, which can destroy the internal components.
4. Remove the broken glass:
Use suction cups or lifting tools to carefully lift and remove the broken glass. This step requires patience to avoid damaging the frame or lower parts.
5. Clean the remaining adhesive:
Clean the frame thoroughly to remove any remaining adhesive. This ensures that the new glass works properly.
6. Install the new glass:
Place the new glass in place and secure it with adhesive or double-sided tape. Apply light, steady pressure for a snug fit.
7. Reconnect and test:
Before turning your device back on, make sure all components are still intact and working.
When do we leave it to the professionals?
If the idea of using the right parts or tools sounds daunting, this is a job for the professionals. Certified technicians have the knowledge and equipment to perform repairs quickly and safely without causing further damage. Additionally, most repair shops offer warranties on their work, ensuring peace of mind.
Preventing future damage
After repairing your iPhone’s back glass, here’s how to prevent future damage:
Durable case:
Invest in a case made of shock-absorbing material, and the edges should be raised for extra protection.
• Apply a protective layer or wrap:
This will add an extra layer of defense without adding bulk.
• Handle with care:
Never place your phone on a hard surface, and always use a secure grip.